
NIFT CAT Storyboard Practice: How to Tell a Clear Story in Six Frames
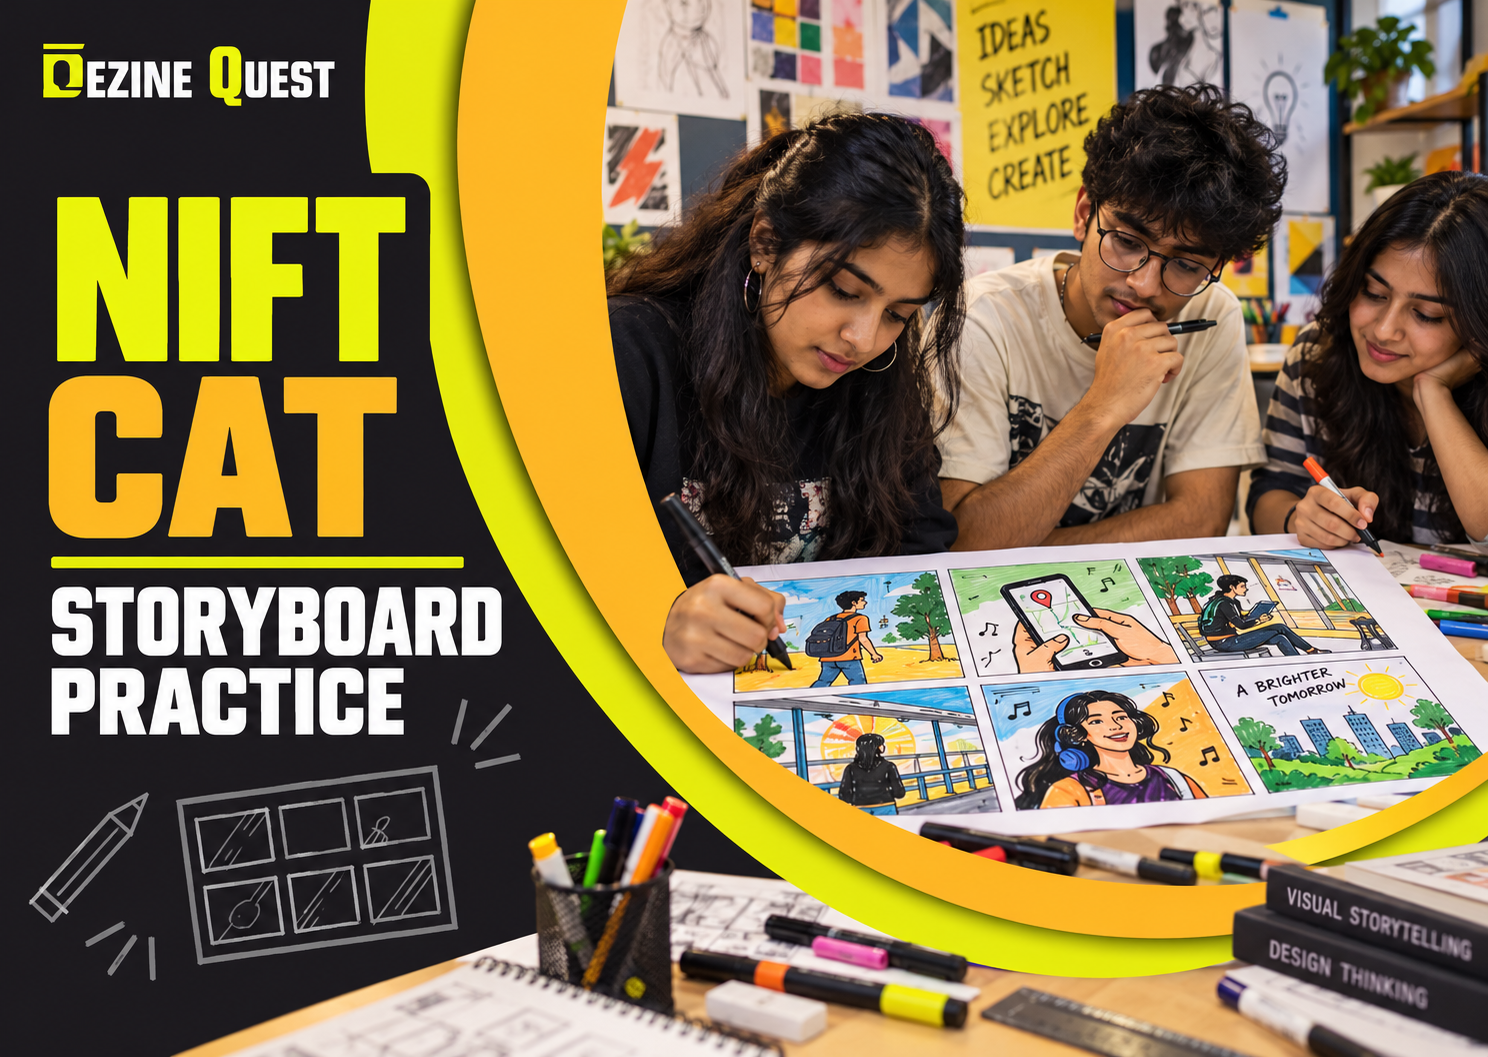
A good storyboard can communicate a complete idea before anyone reads a caption. That makes sequential drawing a useful skill for students working on creative aptitude, visual communication and design entrance preparation. Even when an entrance paper does not explicitly ask for a storyboard, practising one can strengthen composition, empathy and the ability to explain an idea quickly. This guide gives beginners a practical six-frame method without assuming that any particular storyboard task will appear in the NIFT entrance examination.
What Is a Storyboard in Design Practice?
A storyboard is a sequence of images that shows how an event, user experience or solution unfolds over time. In a film, it may plan camera shots. In product design, it may show a person facing a problem, interacting with an object and reaching an outcome. For an entrance aspirant, the exercise combines drawing with clear thinking: each panel must add information rather than merely repeat the previous one.
You do not need elaborate shading or photorealistic faces. A viewer should understand who is acting, what changes and why the ending matters. This is why storyboard exercises fit naturally into a drawing and design course focused on communication rather than decoration.
The Six-Frame Story Structure
Frame 1 — Establish the setting: show where the action happens and who is involved.
Frame 2 — Introduce the goal: make the character's intention visible.
Frame 3 — Reveal a problem: show the obstacle through action or expression.
Frame 4 — Explore a response: depict a choice, attempt or new idea.
Frame 5 — Show the result: make the consequence of that response clear.
Frame 6 — Close with meaning: communicate the outcome or a useful improvement.
Consider a commuter trying to carry a wet umbrella onto a crowded bus. The opening panel establishes the bus stop. Next, the commuter tries to board; water drips onto another passenger's bag. A third panel shows the problem. The character then folds a reusable umbrella sleeve around the wet fabric. The last two panels show the dry bus floor and an easy-to-store solution. The point is not to invent a perfect commercial product; it is to communicate a user problem and a plausible response.
Step 1: Write the Story in One Sentence
Before drawing, write a sentence such as 'A student finds a safer way to carry a heavy art portfolio in the rain.' If that sentence is vague, the storyboard is likely to be vague too. Identify the protagonist, objective, obstacle and change. Keep the scenario grounded in daily life: queues, classrooms, transport, shared spaces and household tasks all offer accessible prompts.
Step 2: Use Thumbnails Before Final Panels
Divide a page into six small rectangles and sketch each panel in 30–60 seconds. Draw only the most important shapes: a figure, an object and the background cue that explains the setting. Review the entire row. If frames three and four look identical, change one to show a distinct action. Thumbnail planning prevents spending too much time on a beautiful opening image while leaving the ending incomplete.
Step 3: Direct the Viewer With Composition
Use wide views to establish location, medium views to show interaction and close-ups to highlight a meaningful detail. These are communication choices, not rigid rules. Keep a character recognisable through consistent clothing or silhouette. Show movement with posture, direction and object position; arrows may help during practice, but a strong sequence should not depend on arrows alone.
Watch the visual hierarchy. A dark, oversized background object can distract from the action. Make the key decision or change the clearest part of the frame. In design aptitude test coaching, ask for feedback on whether a viewer can follow the story without an oral explanation.
Step 4: Show Emotion Through Action
An expression is useful, but body language often tells a stronger story. A person leaning away from a leaking bottle, holding an awkward package with both hands or reaching for a support rail communicates a problem immediately. Draw simplified hands and posture accurately enough to explain the task. Avoid adding speech bubbles to compensate for unclear visuals.
Step 5: Practise Under a Realistic Time Limit
Try a 25-minute practice block: three minutes to understand the prompt, four to plan six thumbnails, fourteen to develop the frames and four to review the sequence. Adjust this practice limit to your current level; it is not a claim about an official exam time allowance. During review, ask whether the viewer can identify the goal, turning point and outcome within ten seconds.
Five Storyboard Prompts for Beginners
A child cannot reach a public drinking-water tap.
A cyclist needs to secure a bag during sudden rain.
An elderly person struggles to read small labels in a pharmacy.
A student wants to organise shared drawing supplies in a classroom.
A street vendor needs a cleaner way to display products on a windy day.
For each prompt, create two endings: one based on a behaviour change and another based on a simple design improvement. This prevents every solution from becoming an unrealistic gadget.
A Four-Week Practice Routine
Week 1: Draw one six-frame sequence every alternate day. Concentrate on clarity, not finish. Week 2: Repeat the same stories using different camera distances and viewpoints. Week 3: Introduce user-centred problems and ask someone unfamiliar with your idea to interpret the panels. Week 4: Complete timed sequences, compare versions and revise the weakest transitions. Keep all drafts so that progress can be assessed by clearer communication, not only prettier lines.
Common Mistakes to Avoid
Do not give every panel the same framing. Avoid stories where the problem appears only in the final frame. Keep captions short and do not rely on long explanations. Most importantly, do not copy an online storyboard and simply change the character. Original observation and problem-solving will develop stronger skills than reproducing someone else's layout.
How Storyboard Practice Supports NIFT Entrance Preparation
Storyboard work can complement NIFT entrance preparation by building visual sequencing, creative problem-solving and sketch communication. It should be used alongside the other abilities relevant to the current official syllabus and assessment pattern. Students interested in fashion design coaching can also storyboard how a garment is selected, worn, adjusted or used in a specific context. This connects visual thinking with practical design decisions.
For students searching for design entrance coaching for beginners, useful feedback is specific: which panel was unclear, where the visual transition failed and how to improve the user's experience. Generic comments such as 'draw better' are less actionable.
Learning With Dezine Quest
Dezine Quest, based on Boring Road in Patna, offers coaching for design entrance examinations including NIFT and NID. Its published course information describes creative aptitude practice and guidance through course formats such as crash courses. Students can ask the institute how sequential drawing and storytelling fit into the current batch curriculum rather than assuming that every class includes a dedicated storyboard module.
Explore course options: https://www.dezinequest.com/crash-course.html
Learn about the institute: https://www.dezinequest.com/
Frequently Asked Questions
Do I need advanced drawing skills to start storyboard practice?
No. Begin with clear stick figures, object silhouettes and simple environments. Improve anatomy and perspective as your visual communication becomes more confident.
Is storyboard drawing guaranteed to appear in NIFT CAT?
No. This article presents a creative practice method, not a prediction of exam questions. Always check the latest official examination instructions and syllabus.
How many panels should I practise?
Six panels are a convenient learning constraint. Later, practise three, four or eight frames to improve editing and storytelling flexibility.
Should I use colour in my practice?
Start in pencil or pen to focus on clarity. Add colour only when it communicates useful information or when a particular exercise calls for it.
Conclusion: Make Every Frame Earn Its Place
Strong visual storytelling comes from a simple habit: notice a real problem, plan the sequence and remove anything that does not help the viewer understand it. Use six-frame storyboard practice to build clearer ideas, faster sketch decisions and more thoughtful design solutions. For guidance on broader NIFT entrance preparation, contact Dezine Quest and explore its current coaching options.
Dezine Quest | 24, Commercial Floor, Krishna Apartment, Boring Road, Patna, Bihar 800013 | +91 7070708866 | www.dezinequest.com