Fabric Drape Experiments for Fashion Design Entrance Preparation: A Beginner’s Guide
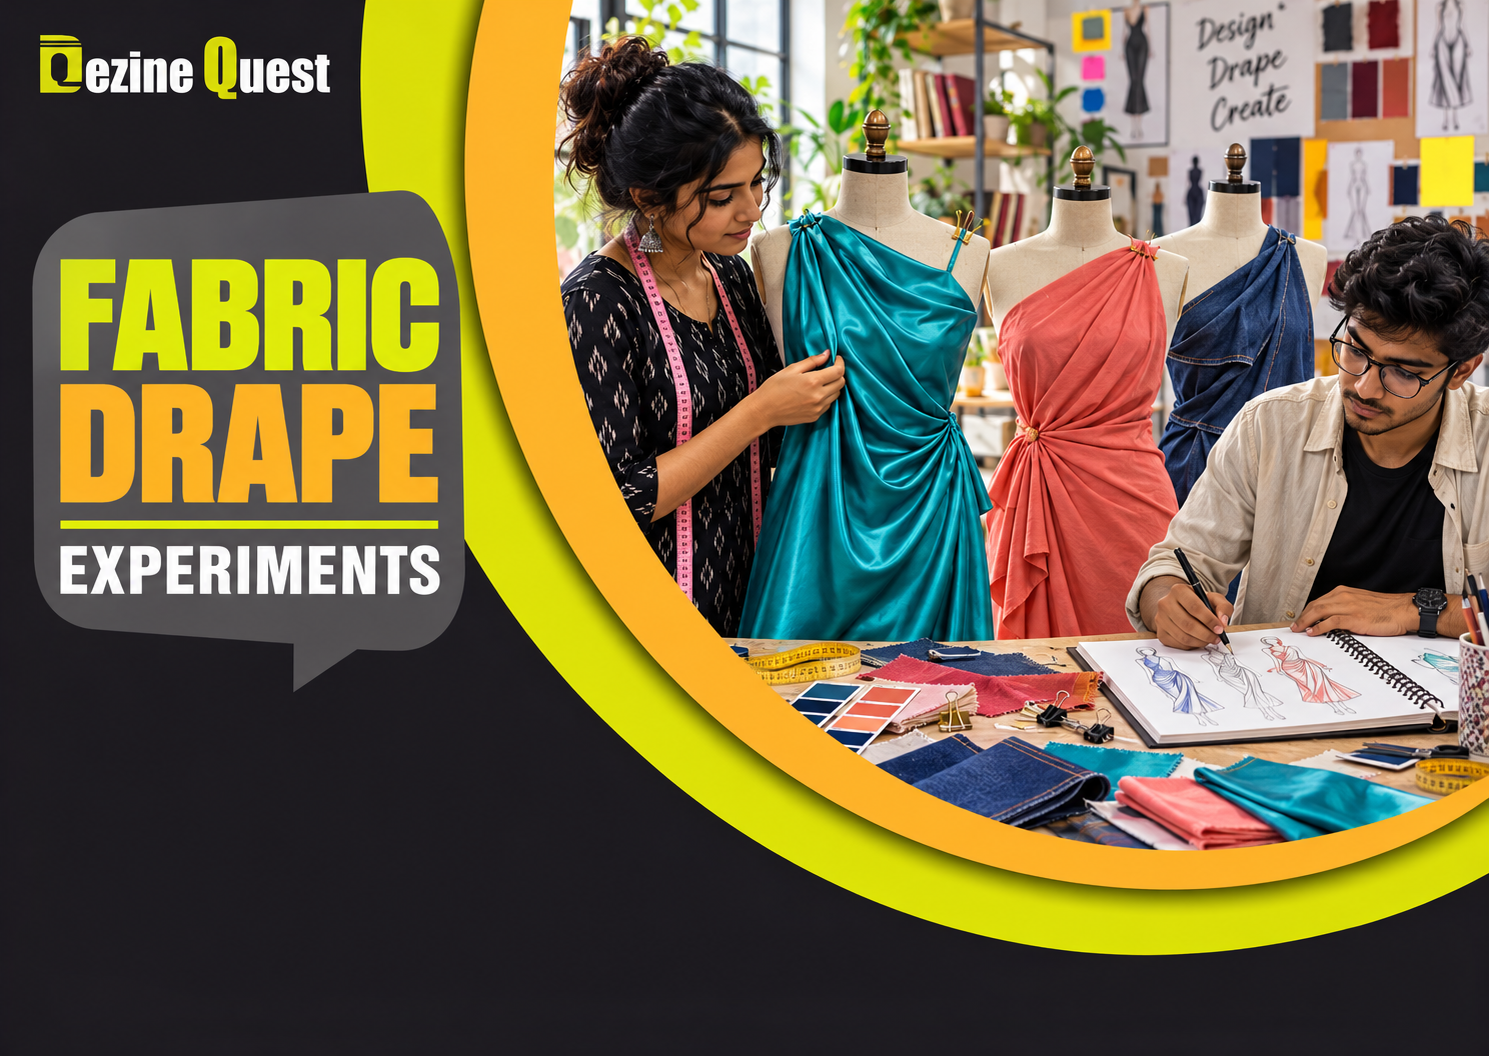
Why does the same scarf look structured when folded on a table but fluid when placed over a shoulder? The answer involves fabric weight, stiffness, surface texture and the way gravity pulls material around a form. Learning to notice these differences can sharpen observation and visual communication for aspiring fashion designers. You do not need a sewing machine or expensive dress form to begin: a few fabric scraps, clips, a chair and a sketchbook are enough.
This guide explores fabric drape as a practical design-thinking exercise. It does not claim that fabric draping is a compulsory task in any particular NIFT examination; candidates should check the latest official assessment requirements.
What Is Fabric Drape?
Drape is the way fabric hangs, folds and falls when supported by a body or object. A crisp cotton sheet may form angular folds, while a lightweight, fluid fabric can create softer curves. Drape is not the same as texture: texture describes what a surface looks or feels like, while drape describes how the material behaves in space. Understanding both helps a designer choose materials for a desired silhouette.
Start with Three Contrasting Materials
Collect three clean fabric samples of roughly similar size, such as plain cotton, denim and a smooth lightweight scarf. Use scraps you already have. Label them A, B and C without writing down their names. Hold each by two corners and observe the shape of the hanging edge. Which forms deep folds? Which keeps a broad, stiff curve? Sketch what you see before identifying the fabrics.
Do not assume every cotton, denim or satin behaves the same way. Weave, thickness, finish and blends can change the result. The purpose is to practise careful comparison, not memorise stereotypes about materials.
Experiment 1: The Table-Edge Test
Place one sample on a flat table with the same amount hanging over the edge each time.
Photograph or sketch the side view without changing your viewpoint.
Repeat for all samples and compare the shape and number of folds.
Record one observation and one possible use for each material.
This exercise separates observation from judgment. “Material A forms one broad curve” is a clearer observation than “Material A is better.” Suitability depends on the intended product.
Experiment 2: Create a Silhouette Without Stitching
Use a rolled towel, cushion or simple cardboard form as a stand-in for a body shape. Drape a scarf over it and secure the material with clips. Try three silhouettes: narrow and close-fitting, wide and flowing, and asymmetrical. Sketch each from the front and side. Mark where the fabric is supported and where it falls freely.
Compare the shapes rather than decorating them immediately. Ask whether the silhouette communicates movement, comfort, volume or structure. This links fashion design coaching with the habit of making design choices intentionally.
Experiment 3: Study Folds Under Different Supports
Hang a square fabric sample from one point, then two points, then a line of three clips. Each support arrangement changes the distribution of tension and folds. Make a three-column sketch page showing the result. Use light pencil strokes for the main folds and darker lines only for the edges that define the form.
This exercise also helps with drawing and design course fundamentals: contour, light and shadow, volume, and the relationship between force and shape.
Experiment 4: Explore Movement
Hold a fabric sample still, then move it gently sideways. Observe which folds disappear, which new curves form and how quickly the material settles. Draw a short sequence of three sketches: before movement, during movement and after movement. Focus on the changing outline rather than every crease. The same idea can be applied to a sleeve, scarf or flowing garment.
Experiment 5: Build a Texture and Drape Journal
Make one page for each material. Attach a small labelled swatch where practical, or use a photograph if the material cannot be cut. Include a quick sketch, a few descriptive words and a note on possible uses. Examples of useful descriptions are “holds a sharp fold,” “falls close to the form” and “reflects light strongly.” Keep the journal original and based on your own observations.
A Seven-Day Practice Schedule
Day 1: Collect three contrasting fabrics and document their appearance.
Day 2: Complete the table-edge test and sketch the profiles.
Day 3: Create three silhouettes on a simple form.
Day 4: Study folds with one, two and three support points.
Day 5: Record fabric movement in a three-frame sketch sequence.
Day 6: Create a comparison sheet explaining a fabric choice for one design brief.
Day 7: Review your weakest sketches and repeat the experiment with better observation.
Turn Observation into a Design Decision
Suppose you are designing a reusable shopping bag that folds into a pocket. A fabric that looks elegant on a dress may not be the most practical choice for repeated carrying and folding. Write a short design brief: who will use the item, what it must do, and which material behaviour matters. Then compare two samples against the brief. This habit of connecting visual experimentation with a user need makes material exploration more meaningful.
How to Sketch Fabric Clearly
Begin with the outer contour. Next, identify the support points and the main fold directions. Add only a few important shadow areas to show depth. Avoid covering every surface with dark lines: too much shading can hide the underlying form. For a beginner, three accurate folds are often more informative than thirty invented ones.
Use a consistent light source when drawing from observation. If the sample is glossy, note where highlights appear; if it is matte, compare the softer changes in tone. Keep the drawing faithful to the material in front of you rather than copying an idealised illustration.
Common Mistakes to Avoid
Comparing samples of very different sizes without noting the difference.
Calling a material “good” or “bad” without specifying the design goal.
Drawing folds from memory instead of looking at the actual material.
Mistaking surface shine for softness or flexibility.
Using decorative details to conceal an unclear silhouette.
How This Supports Fashion Design Entrance Preparation
Material observation can complement NIFT entrance preparation by developing attention to form, texture, user needs and visual explanation. It is one part of a broader study routine that should reflect the latest official syllabus and assessment pattern. If you are exploring fashion design entrance coaching, ask whether lessons include observation-based sketching, critique and opportunities to explain design decisions.
Students searching for design entrance coaching for beginners should look for feedback that goes beyond “make the drawing attractive.” Useful guidance identifies whether the silhouette is readable, whether the fabric behaviour is convincing and whether the design serves its intended user.
Exploring Dezine Quest
Dezine Quest provides design entrance coaching in Patna, including NIFT-focused preparation. Students interested in fashion design can review the institute’s current course offerings and ask whether material observation, garment sketching and design aptitude practice are covered in their preferred batch. Do not assume a dedicated draping workshop is included unless the institute confirms it.
Visit: https://www.dezinequest.com/
Frequently Asked Questions
Do I need a dress form to practise draping?
No. A cushion, rolled towel or simple cardboard form is enough to begin studying folds and silhouettes.
Is fabric draping the same as fashion illustration?
No. Draping studies how material behaves around a form; illustration communicates a fashion idea through drawing. They can inform each other.
Should I use expensive fabrics?
No. Clean scraps and ordinary household textiles are suitable for introductory comparisons.
Will this exercise definitely appear in NIFT CAT?
No. These are transferable observation and design-thinking exercises, not predictions of an official question.
How can I measure improvement?
Compare dated sketches for clearer silhouettes, more accurate fold directions and stronger explanations of material choices.
Conclusion: Let the Material Teach You
Strong fashion ideas begin with noticing how real materials behave. Compare simple samples, draw what you observe, test silhouettes and explain why a fabric suits a particular need. These inexpensive exercises can make your visual thinking more precise and help you develop a more thoughtful design process. For broader entrance preparation, explore Dezine Quest’s current coaching options and ask about the right learning pathway for your goals.